Graph and Hatch Map Styles in Illustrator
/Maybe you’re an old-school tabletop RPG player with nostalgia for the classic graph-paper maps of yore. Or maybe you’re an admirer of the gorgeous hand-drawn maps over on Dyson’s Dodecahedron. Either way, you may wish you could quickly create similar black-and-white maps for your game.
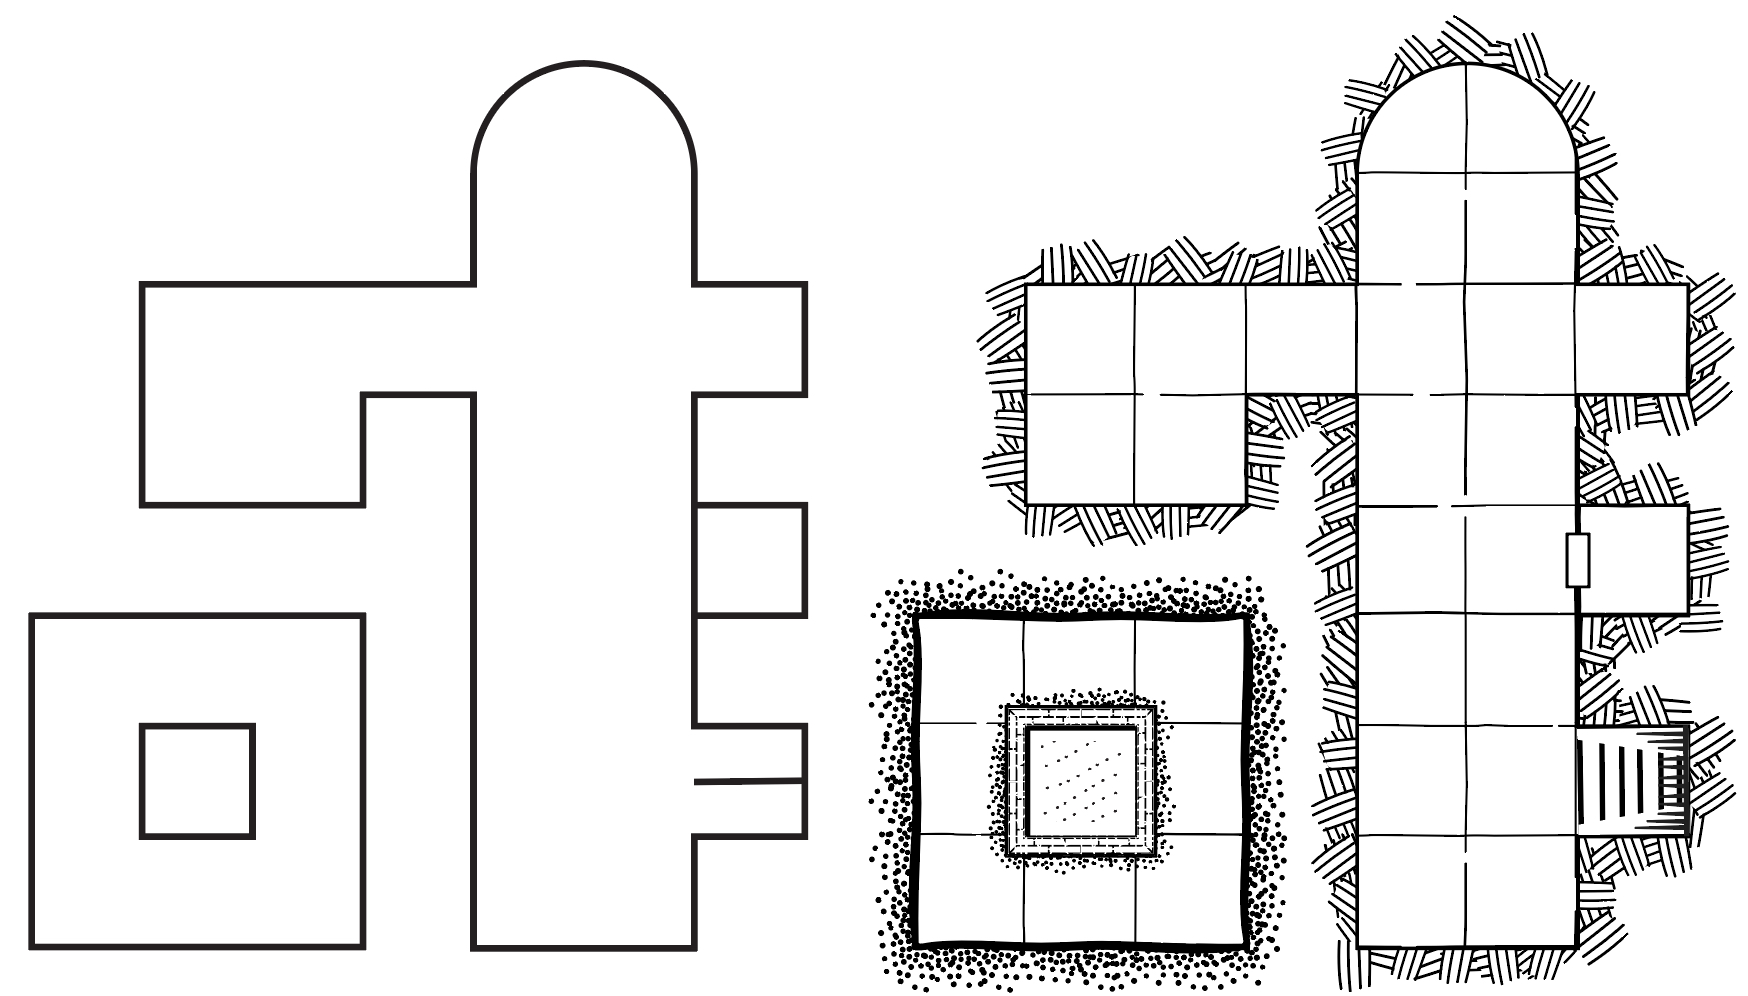
Graph and Hatch map style
I make RPG maps using Adobe Illustrator, and I’ve developed a set of assets that make it relatively easy to create good-looking maps. They don’t have all the flexibility of hand-drawn maps, but they are quick to produce and contain a lot of texture and detail for a minimal effort.
I call this style Graph and Hatch, because it has the look of maps inked on non-reproduction graph paper, with the solid spaces between rooms often indicated with a meticulous hatch fill or stipple. When executed with analog materials the hatching takes time and practice to master, changes and corrections are laborious, and elements cannot be easily re-used.
Photoshop or other raster applications are commonly used to make maps, and they’re great tools. But the Graph and Hatch style lends itself to vector programs like Illustrator. Instead of drawing each paver and door and detail, we can create styles that give us most of the complexity automatically. Another advantage is that vector art is resolution-independent, so these maps can be scaled up without loss of quality. I work at 1/4” = 5', but my maps can scale up and be printed for tabletop use.
It’s also easy to experiment with styles in Illustrator. Once you’ve drawn the plan of the dungeon using simple lines, you can change the appearance of the map quickly just by choosing from different graphic styles.
A few tips:
Setup
I set up my drawings on a 1/4” grid. In Illustrator, set the following:
Preferences > Units… > General > InchesPreferences > Guides & Grid > Gridline every: 1 inPreferences > Guides & Grid > Subdivisions: 4
To make the grids easier to see you might wish to uncheck:
Grids in Back.
Hotkeys
There are a few hotkeys that will make your life easier as you draw on a grid in Illustrator:
⌘-’ (command-apostrophe) toggles the visibility of the grid.
⌘-⇧-’ (command-shift-apostrophe) toggles the snap to grid feature when drawing.
⌘-Y (command-y) Use this to toggle between preview mode (where all of the applied styles are visible) and outline mode (which only shows the underlying geometry.)
Arrow Keys move a selection a whole grid square if snap to grid is turned on. This is an easy way to move a path a few units while making sure the items stay aligned to the grid.
I like to set the keyboard increment to 0.0125 inch when working with 1/4 inch grids. With this setting, you can hold down SHIFT and hit an arrow key to move 0.125 inch, or exactly half a grid unit. Some items (like stairs) are best aligned in the middle of a grid square.
Graphic Styles
Combinations of line and fill styles can be saved as Graphic Styles. Each style can be applied to a path by selecting the path and then clicking on the style in the Graphic Style window. Access the window from the menu:
Window > Graphic Styles
Reverse Path Direction
Sometimes a path will not look as expected. Editing a path or applying a Pathfinder operation can make a stroke disappear or appear to be “tucked inside” the stroke. Often what has happened it that the direction of the path has been reversed. To remedy this, select the item and invoke: Object > Path > Reverse Path Direction.
Reverse Path Direction: before and after
Next Steps
In an upcoming tutorial, I will walk through the process of creating a complex Graphic Style suitable for use on an RPG map. Until then, you can download a file containing several Graph and Hatch styles you can experiment with. Viewing their strokes and fills in the Appearance window will give you a good idea of how they are constructed.
These styles are free to use. If you make something cool with them, I’d love to see a link in the comments.
Here’s a version for older releases of Illustrator. Some styles may not work as designed in older software.


